ESP32 Warning light
An old school warning light connected to an MQTT server thanks to an ESP32.
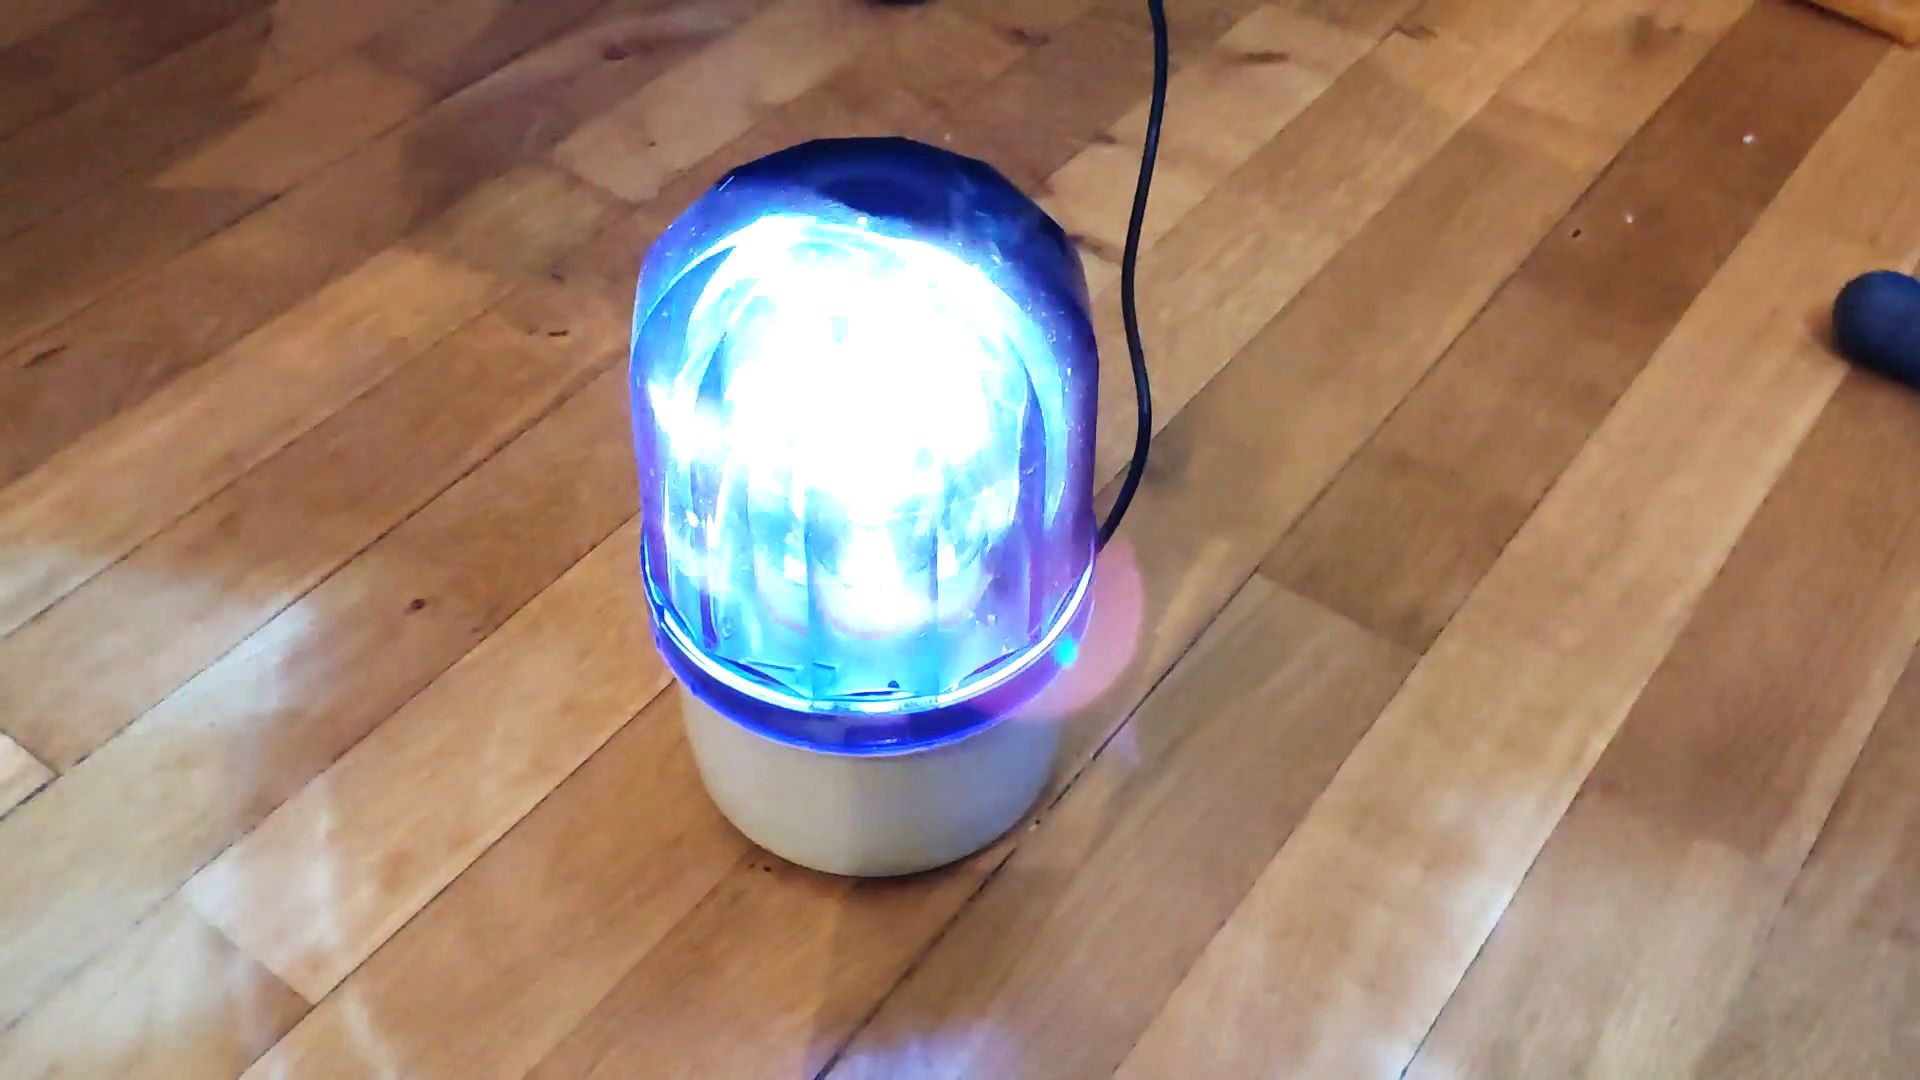
One of my coworker is working on a new mobile app for a company (around 300 devices), and get quite excited when somebody use it. I built him a connected warning light, lighting-up for every new app usage.
This article will not cover how the mobile app usage data are recovered. At the end, it's just a node script calling some HTTPS endpoints and sending the data to an MQTT topic.
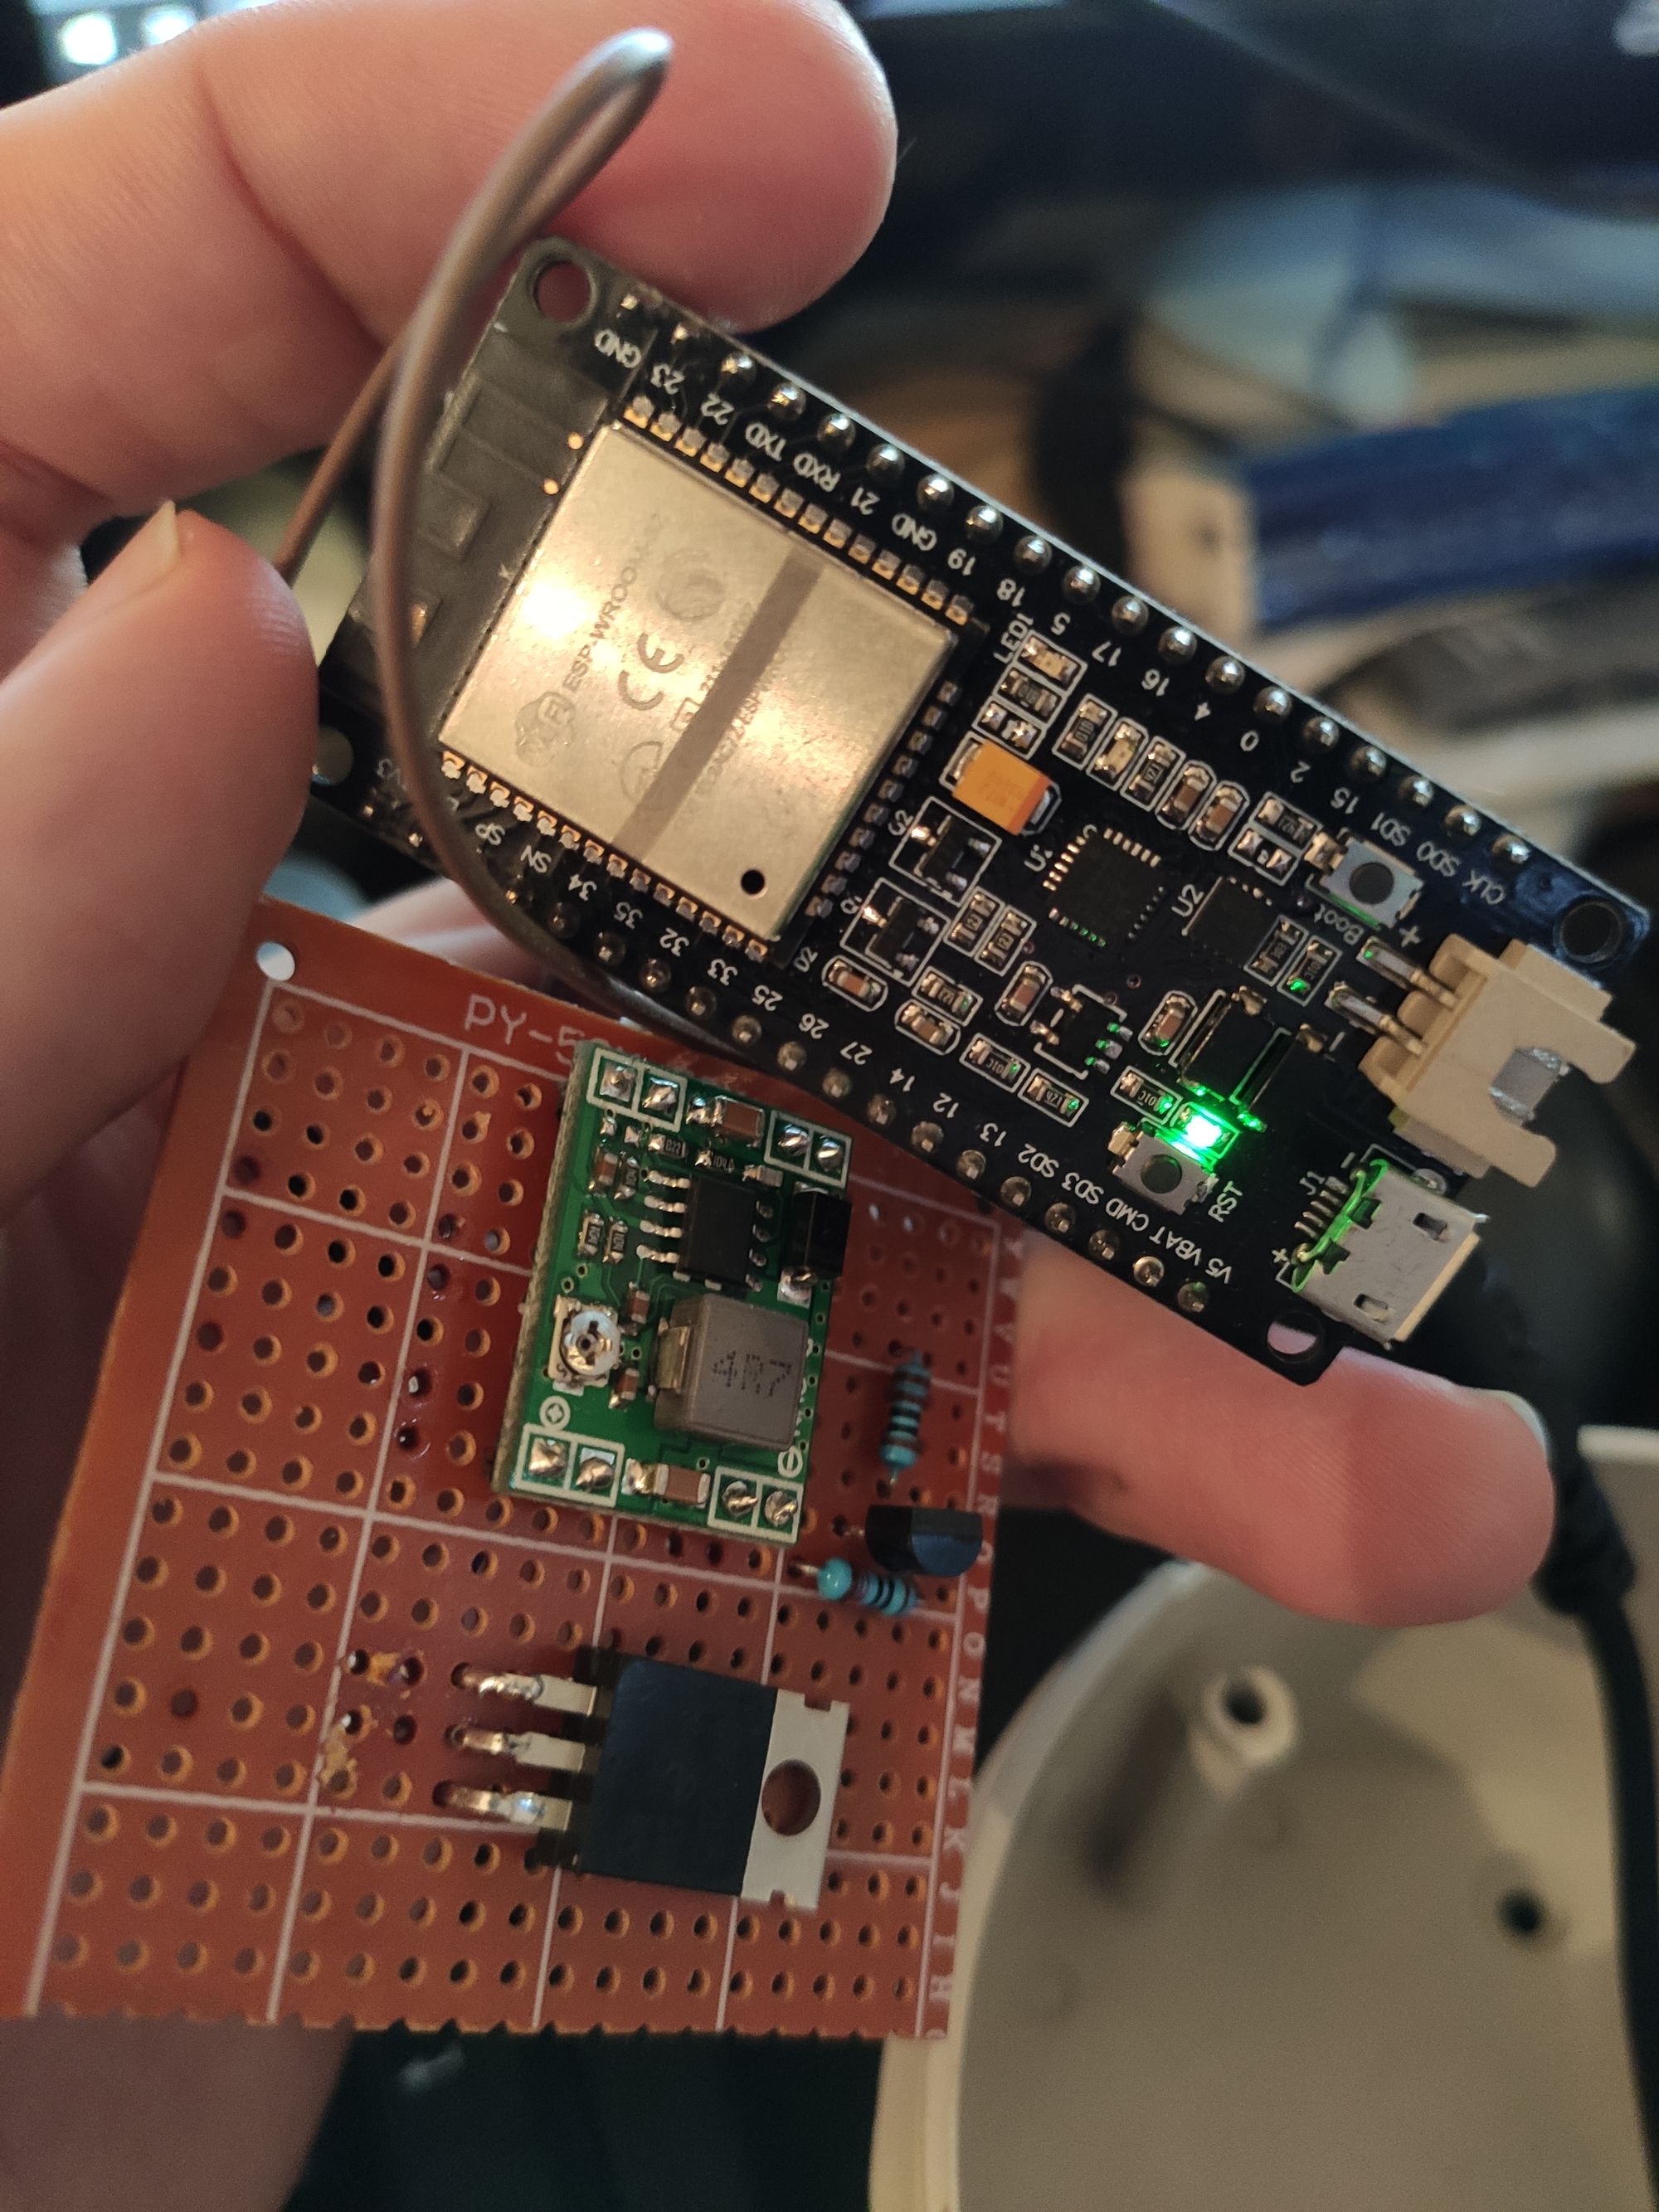
I recently got an ESP32 GeeekNET development board from Seeed Studio. I decided that this project will be a good starting point to discover the ESP32. You will find more information about Seeed Studio at the end of this blog post.
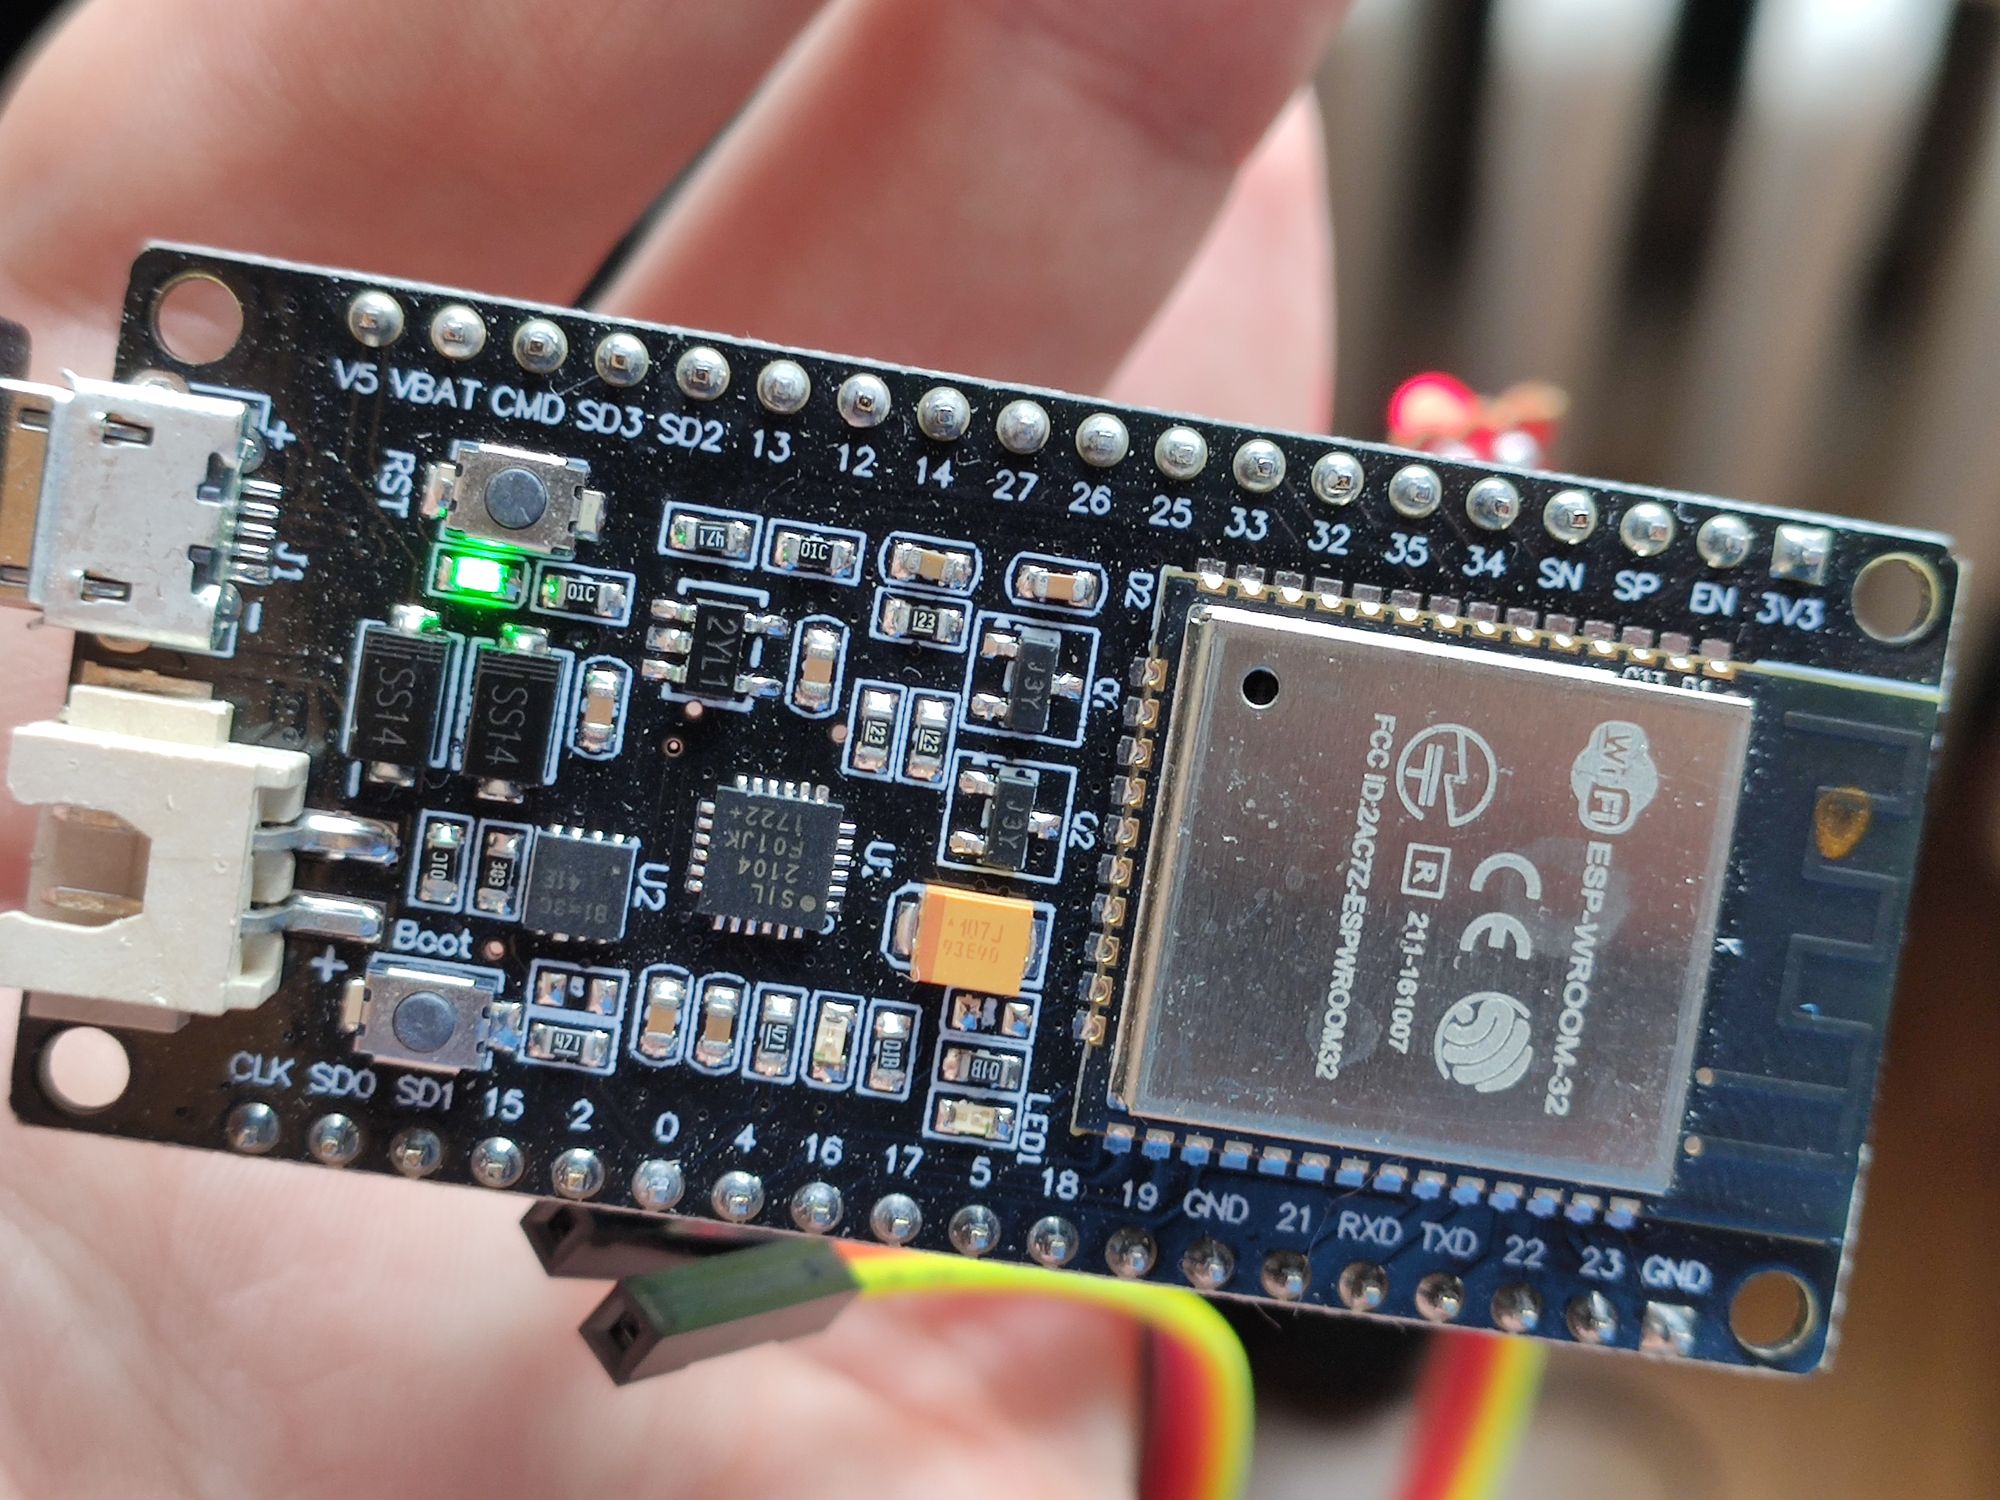
This board is quite unique as it can be powered by a LiPo battery. I will not use this functionality with this project, but it give me new possibilities for future projects.
The GeeekNET ESp32 documentation is available on a dedicated wiki page.
The idea is quite simple: I have a 12v old fashioned blue warning light, some ESP32 connected to an MQTT server, and listening to some specific topics. When the content of the topic changes, the light will be powered-on during few seconds, driven by a mosfet.

The ESP32 can be used with the Ardunio framework. But keep in mind that behind the Ardunio functions, the ESP SDK will be used. Expressif learned a lot with the ESP8266, and built a solid SDK for the ESP32. The documentation of the ESP32 can be found online, and gives a good starting point to understand the capabilities of the ESP32.
Flash the ESP32
As usual, I will use platformio to program and flash the ESP32.
To flash the ESP32, the "boot" button must be pressed down few seconds when the flashing process is targeting the COM port.
Connection to WiFi
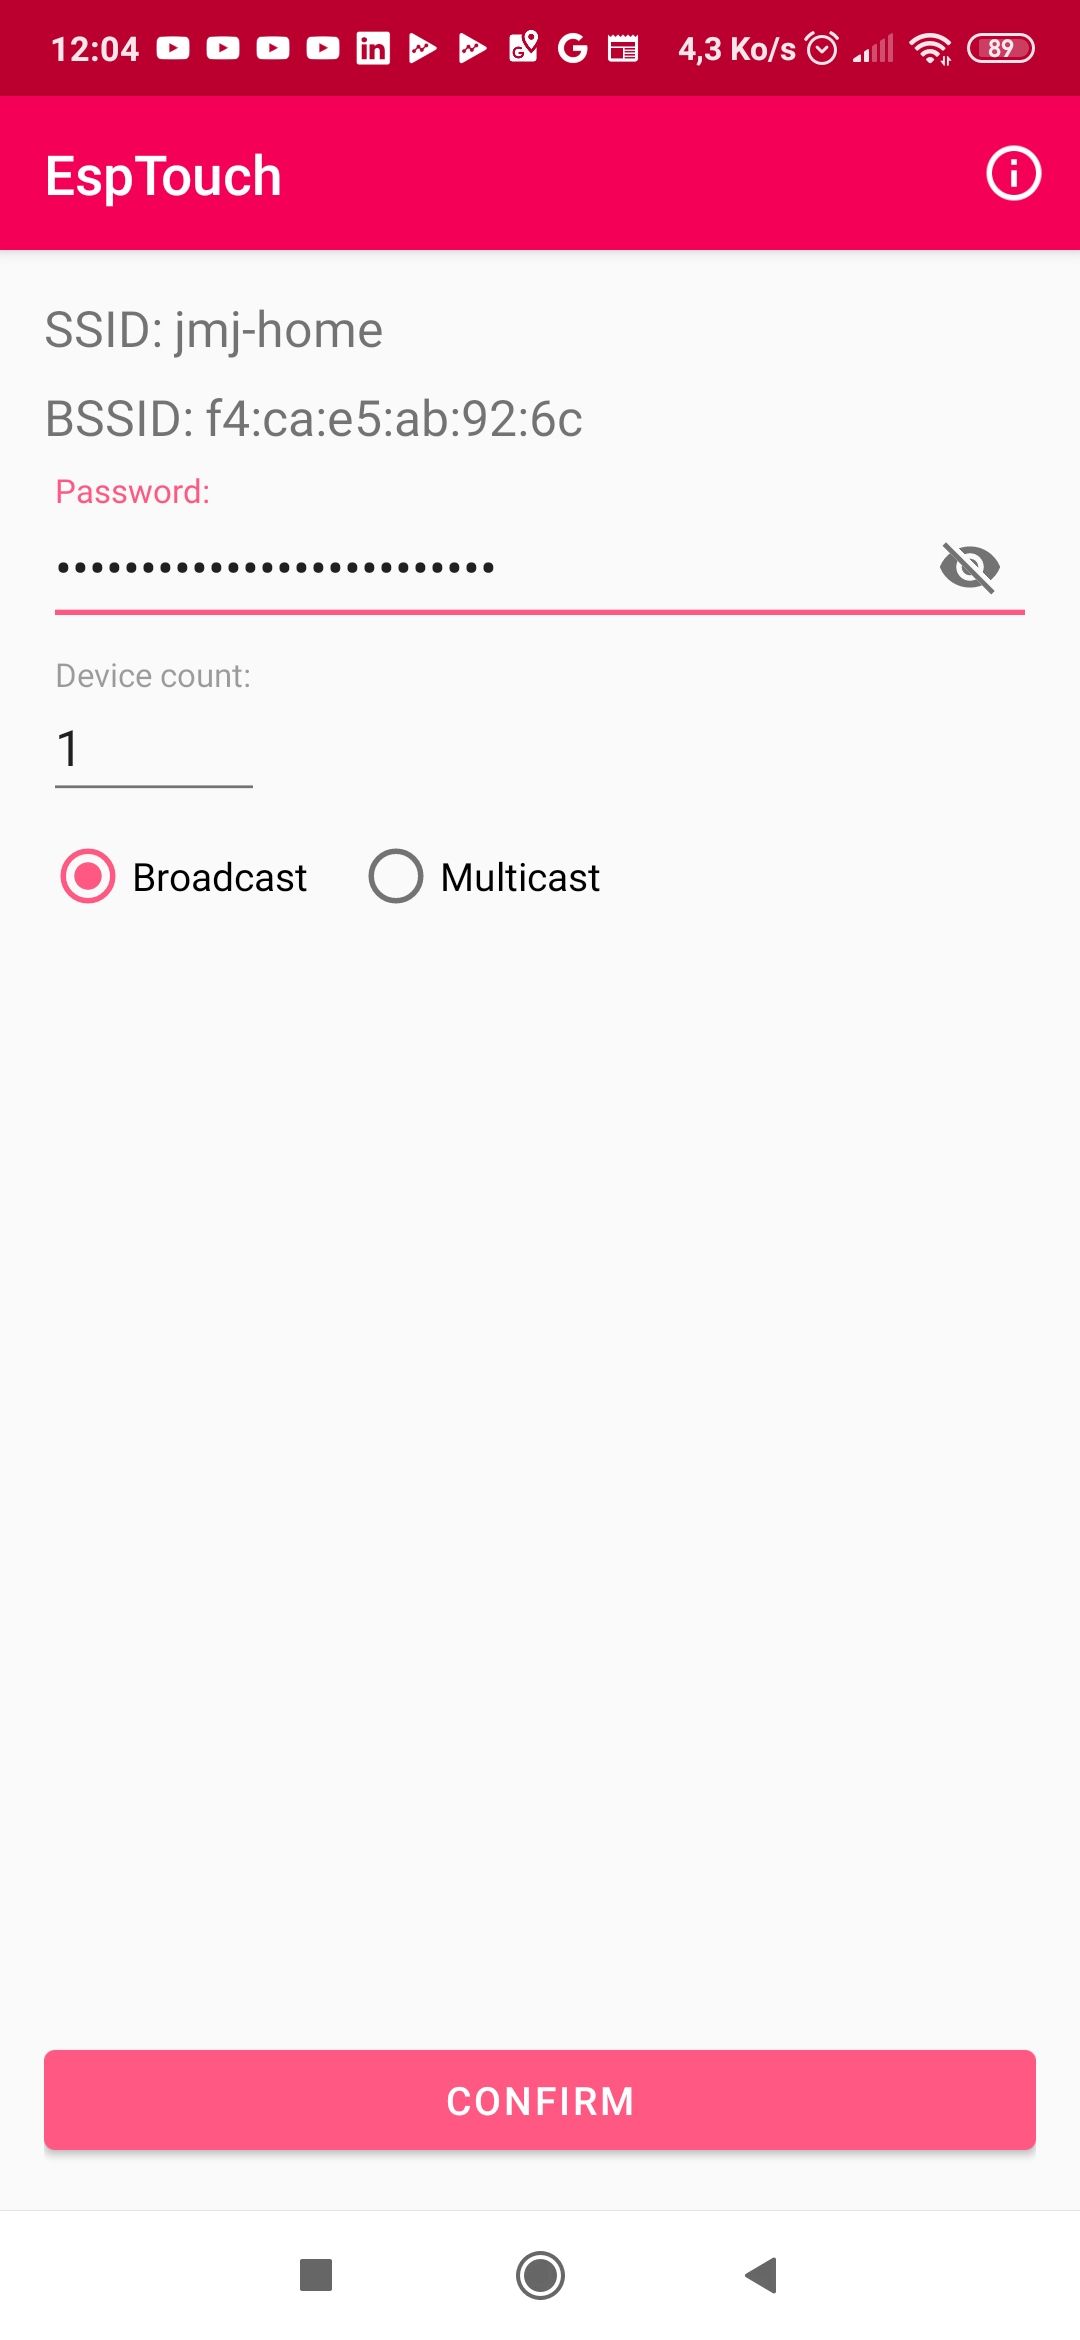
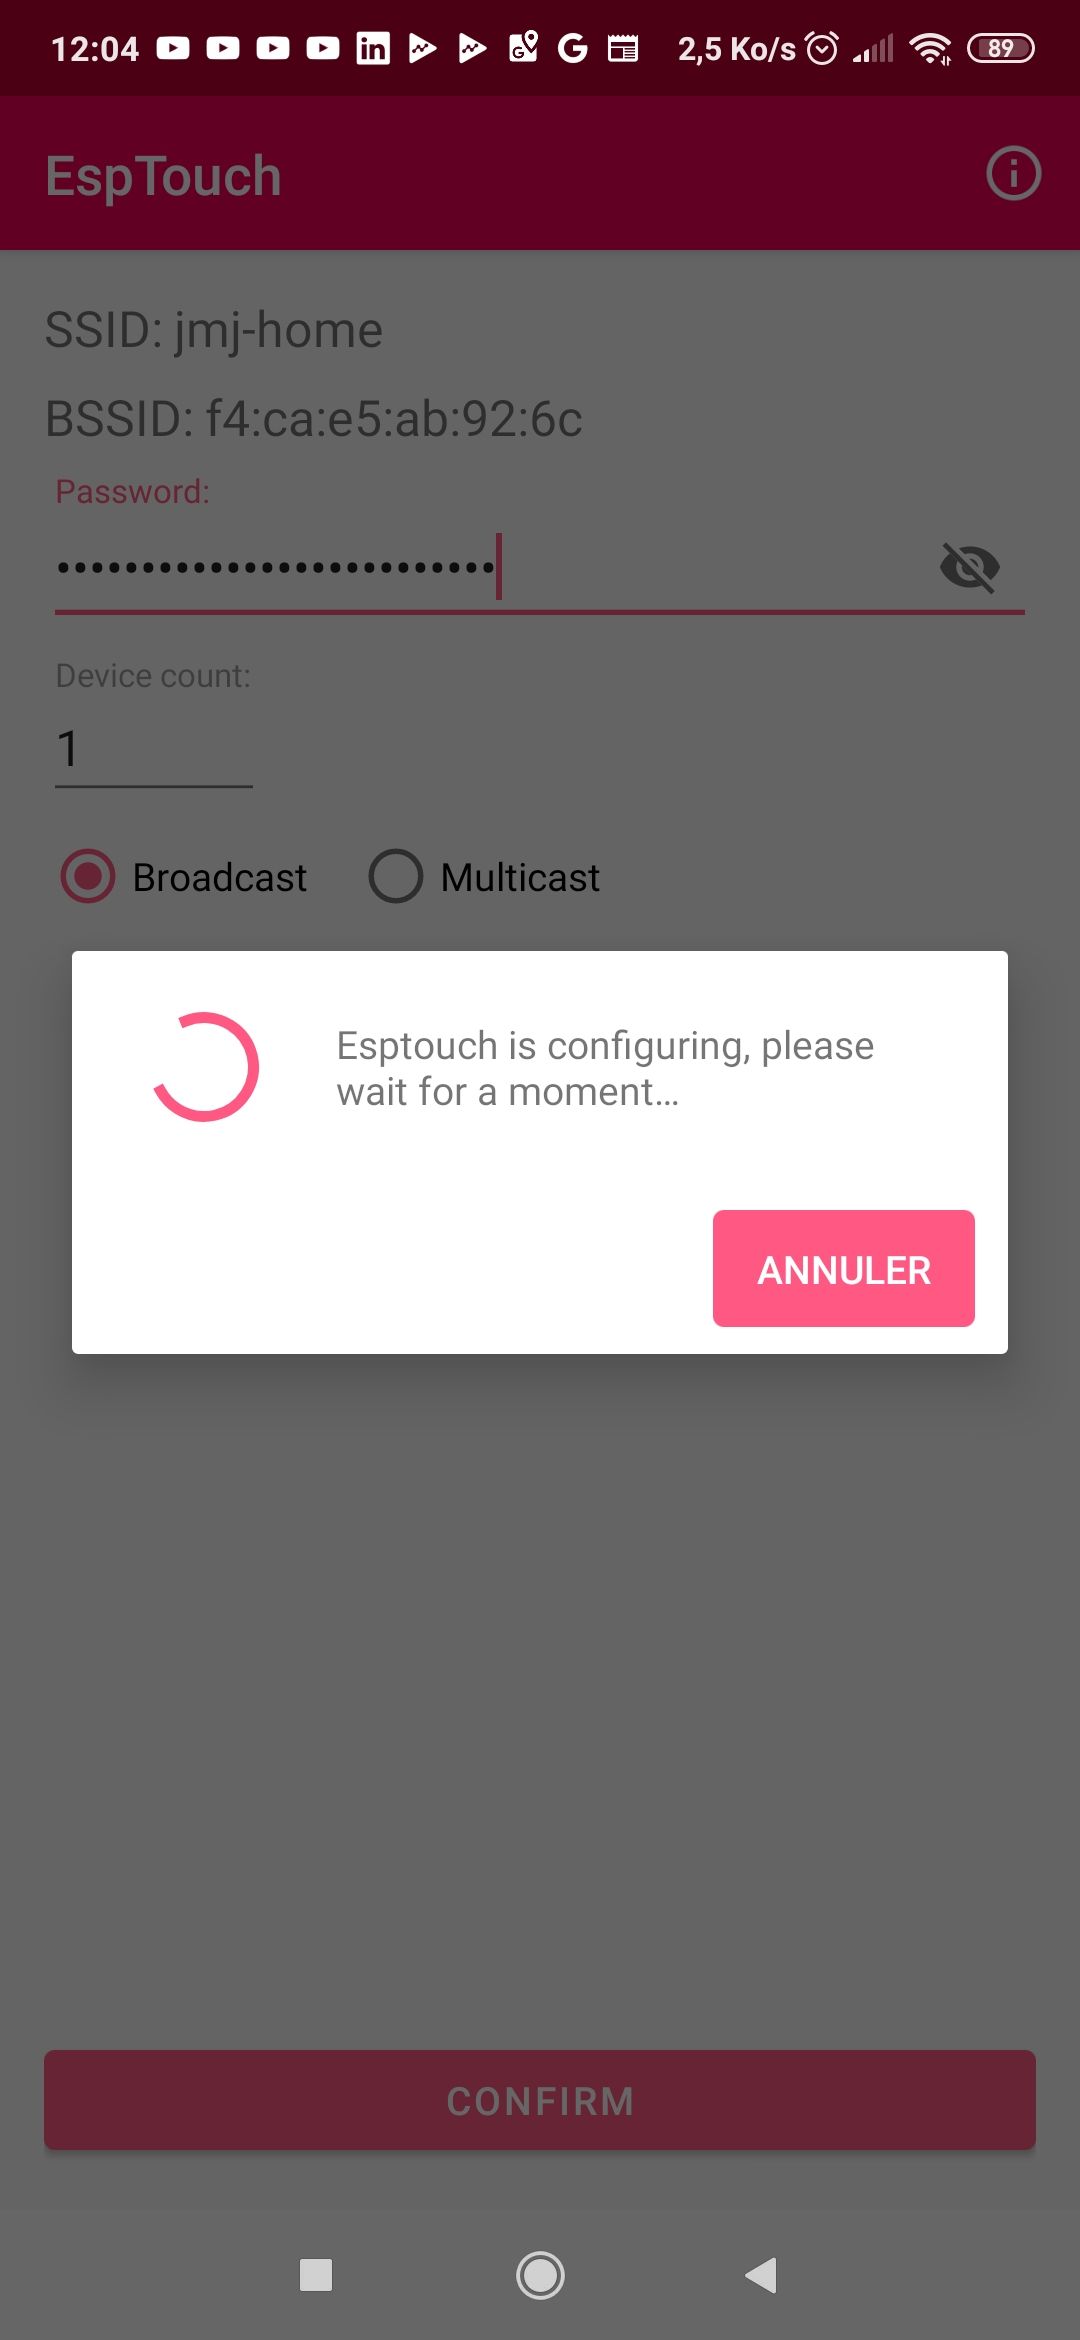
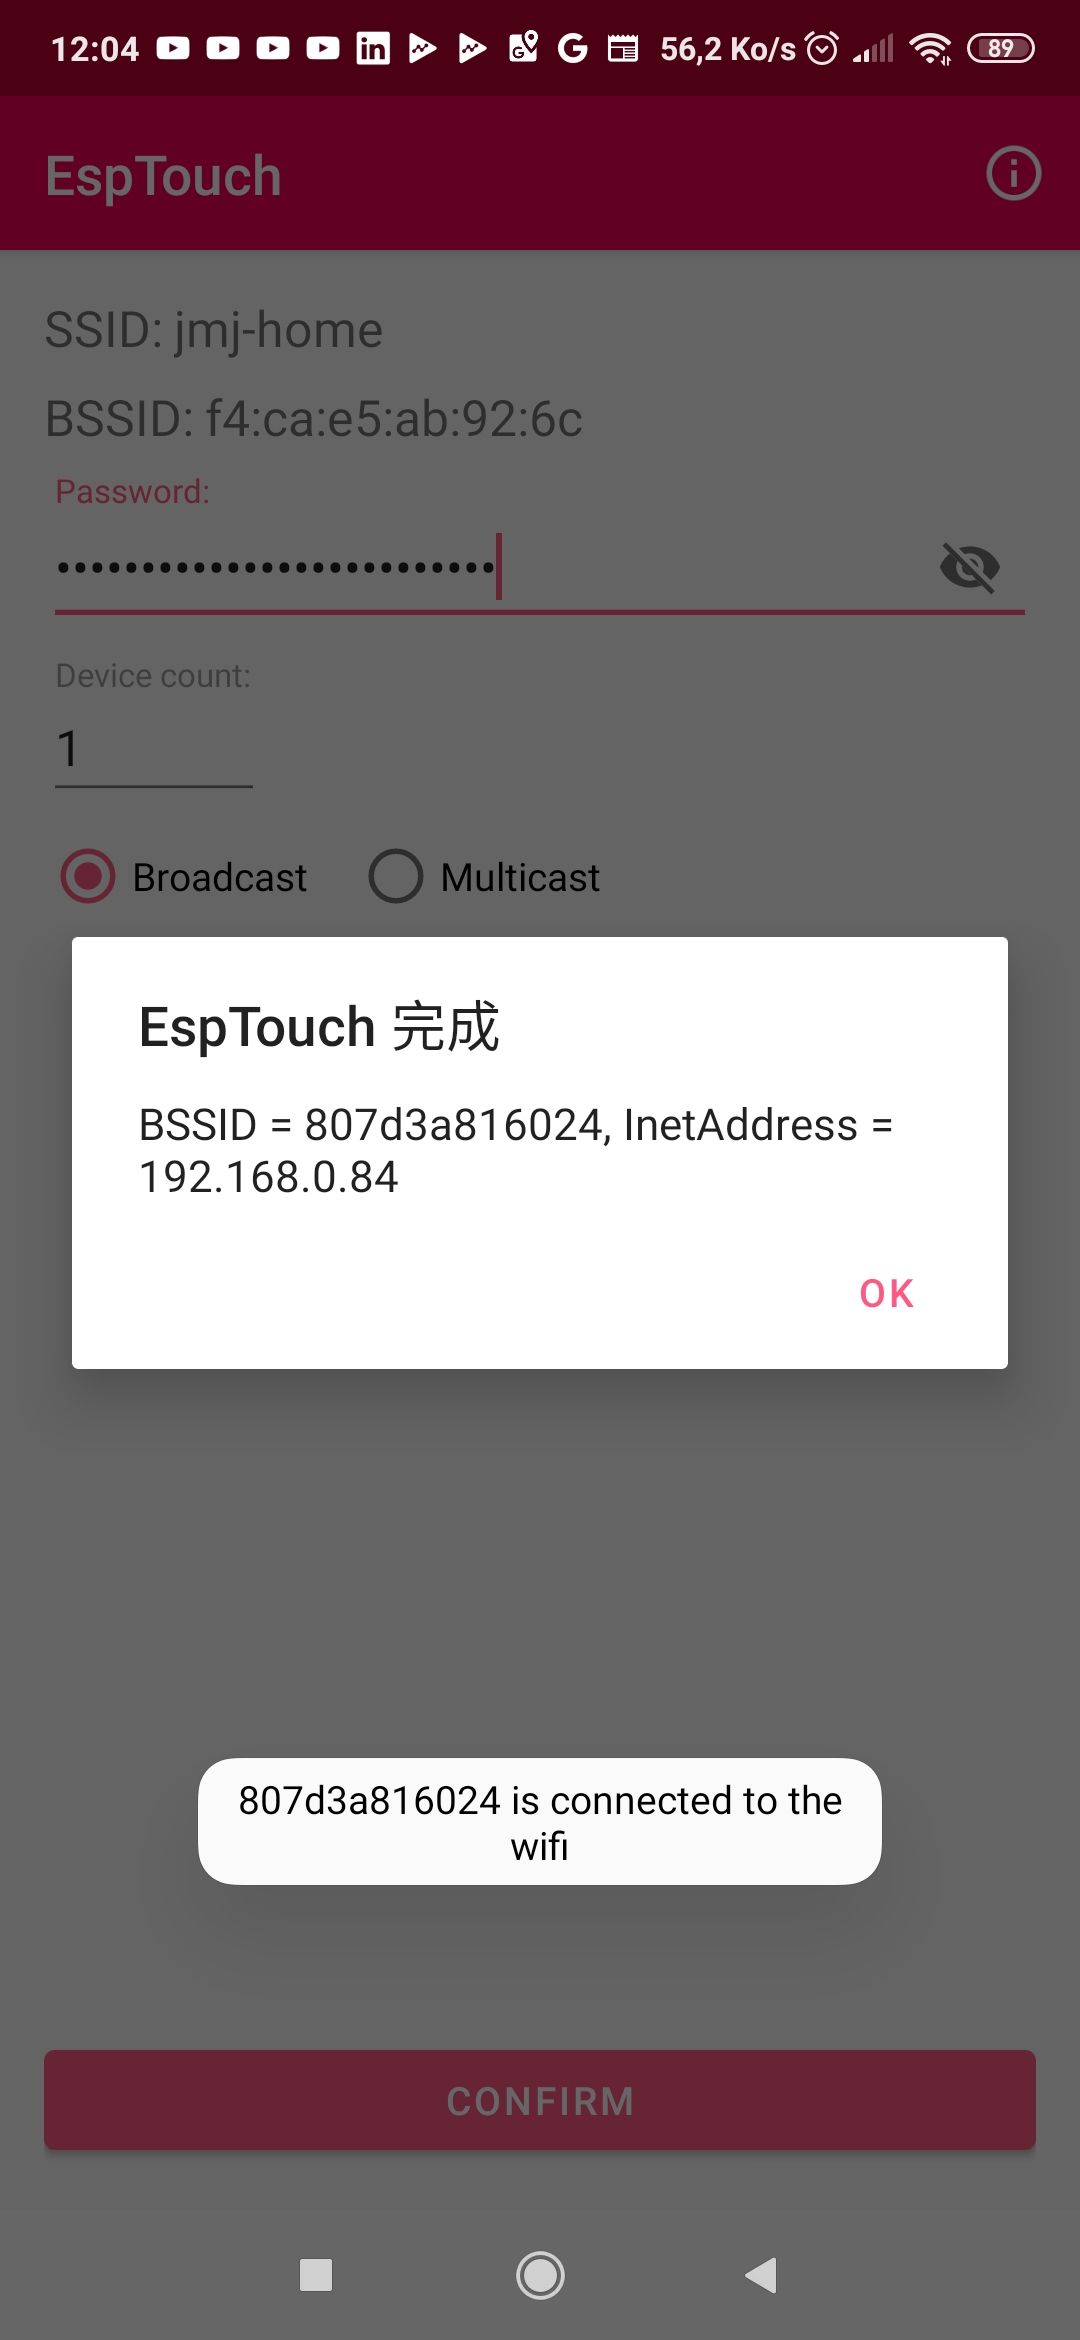
The ESP32 has a functionality called SmartConfig, which gives a smartphone the ability to configure easily (through an app) the wifi credential to use with the ESP32.
To simplify the development of the board, I will use the Arduino "WiFi" software layer.
It's easy. First, the device will try to use stored WiFi credentials. If the network has never been configured (or doesn't work), WiFi.begin() will return WL_CONNECT_FAILED. In this case, we activate the smartconfig functionality with WiFi.beginSmartConfig():
void setup()
{
  Serial.begin(115200);

  // Tries to connect with previous credentials or starts smartconfig
  if (WiFi.begin() == WL_CONNECT_FAILED)
  {
    // Init WiFi as Station, start SmartConfig
    WiFi.mode(WIFI_STA);
    WiFi.beginSmartConfig();

    //Wait for SmartConfig packet from mobile
    Serial.println("Waiting for SmartConfig.");
    while (!WiFi.smartConfigDone())
    {
      delay(500);
      Serial.print(".");
    }

    Serial.println("");
    Serial.println("SmartConfig received.");
  }

  //Wait for WiFi to connect
  Serial.println("Waiting for WiFi");
  while (WiFi.status() != WL_CONNECTED)
  {
    delay(500);
    Serial.print(".");
  }

  Serial.println("WiFi Connected.");

  Serial.print("IP Address: ");
  Serial.println(WiFi.localIP());
}
Later on, I added a push button to the device to be able to go into smartconfig mode whenever I want.
In the "smartconfig" mode, the Android/iOs mobile app can send WiFi credentials to the device.
MQTT Connection
To reach the MQTT server, I will use the well-known PubSubClient library.
For the development, I choose to use the mosquitto test server.
First of, I built an unique client ID (if you use the same client I than another user, you will end up disconnected):
char clientId[20];
void setup() {
  // The chip ID is essentially its MAC address(length: 6 bytes).
  uint64_t chipid = ESP.getEfuseMac();
  sprintf(clientId, "ESP_%04X%08X", (uint16_t)(chipid >> 32), (uint32_t)chipid);
}
And configured the MQTT connection, topic to monitor, callback... The listen topic will contain an integer. Currently, only the warning light is enabled, but I will maybe add a little screen to display the counter value later on (that's why I'm saving the value).
#define MQTT_SERVER_HOST "test.mosquitto.org"
#define MQTT_SERVER_PORT 1883
#define MQTT_TOPIC_1 "iot-experiments/evt/counter"

WiFiClient wifiClient;
PubSubClient mqttClient(wifiClient);
long lastReconnectAttempt = 0;
volatile int32_t topic1CounterValue;
volatile boolean startWarningLight = false;

void setup() {
  // [snip]
  mqttClient.setServer(MQTT_SERVER_HOST, MQTT_SERVER_PORT);
  mqttClient.setCallback(mqttCallback);
  // [snip]
}

void loop() {
  // [snip]
  if (!mqttClient.connected())
  {
    long now = millis();
    if (now - lastReconnectAttempt > 5000)
    {
      lastReconnectAttempt = now;
      if (reconnectMqttClient())
      {
        lastReconnectAttempt = 0;
      }
    }
  }
  else
  {
    mqttClient.loop();
  }
  // [snip]
}

boolean reconnectMqttClient()
{
  Serial.println("Attempting MQTT connection...");
  if (mqttClient.connect(clientId))
  {
    Serial.println("Connected to MQTT server");
    mqttClient.subscribe(MQTT_TOPIC_1);
  }
  else
  {
    Serial.print("Failed, rc=");
    Serial.println(mqttClient.state());
  }
  return mqttClient.connected();
}

void mqttCallback(char *topic, byte *payload, unsigned int length)
{
  Serial.print("MQTT message arrived [");
  Serial.print(topic);
  Serial.print("] ");

  char value[length + 1];
  strncpy(value, (char *)payload, length);
  value[length] = '\0';
  Serial.println(value);

  if (strcmp(MQTT_TOPIC_1, topic) == 0)
  {
    int32_t iValue = atoi(value);
    if (iValue != topic1CounterValue)
    {
      topic1CounterValue = iValue;
      startWarningLight = true;
    }
  }
}
Upgrading to secure connection
I then changed the MQTT port to 8883 to establish a secure connection. But to do so, the WiFiClient as to be upgraded to an WiFiClientSecure.
It is quite simple and works out ouf the box! I remembered that I had some difficulties to establish a secured connection with the ESP8266.
Test the MQTT connection
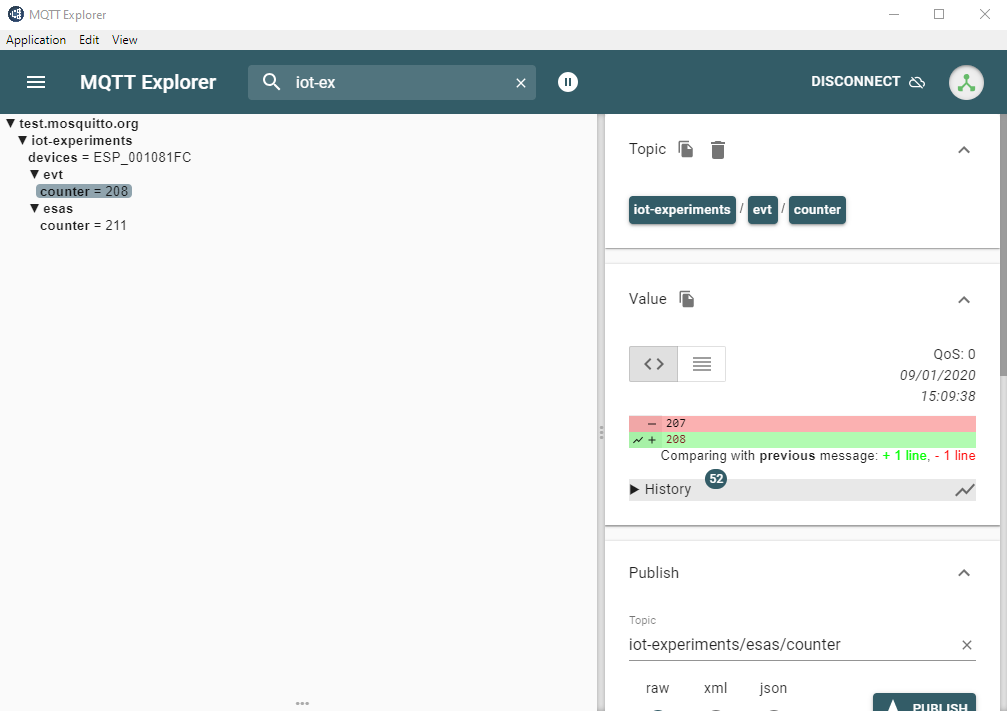
To test the MQTT connection, I'm using the free software MQTT Explorer:
Drive the warning lamp
The warning lamp is composed by an old fashioned bulb and a motor, at 12V.
The ESP32 cannot power this device directly. I choose to use a MOSFET, the IRF3205 which a had in my drawers, and seems capable of managing the power required for starting the motor and the lamp. But I completely forgot that the EPS32 levels are at 3.3V, and it doesn't seems to be enough power to drive the IRF3205!
I added an NPN (2N2222) in front of the MOSFET, after reading some articles.

However, the NPN inverts the logic: when the NPN gate receive some current, the MOSFET is off! I had to adjust the sketch.
Moreover, I added a Flyback diode, as I saw somewhere that a DC motor can have a hard time on the mosfet. I'm not sure if it changes something but it still works :D
Power the ESP32
To power the ESP32, I added a DC-DC step-down converter. The input is a 12V power supply, and the output will me set at 5V for the RAW pin of the ESP32.
It also gave me the opportunity to add a Neopixel. The neopixel is driven at 3.3V, but requires a 5V input to power on.
Final result
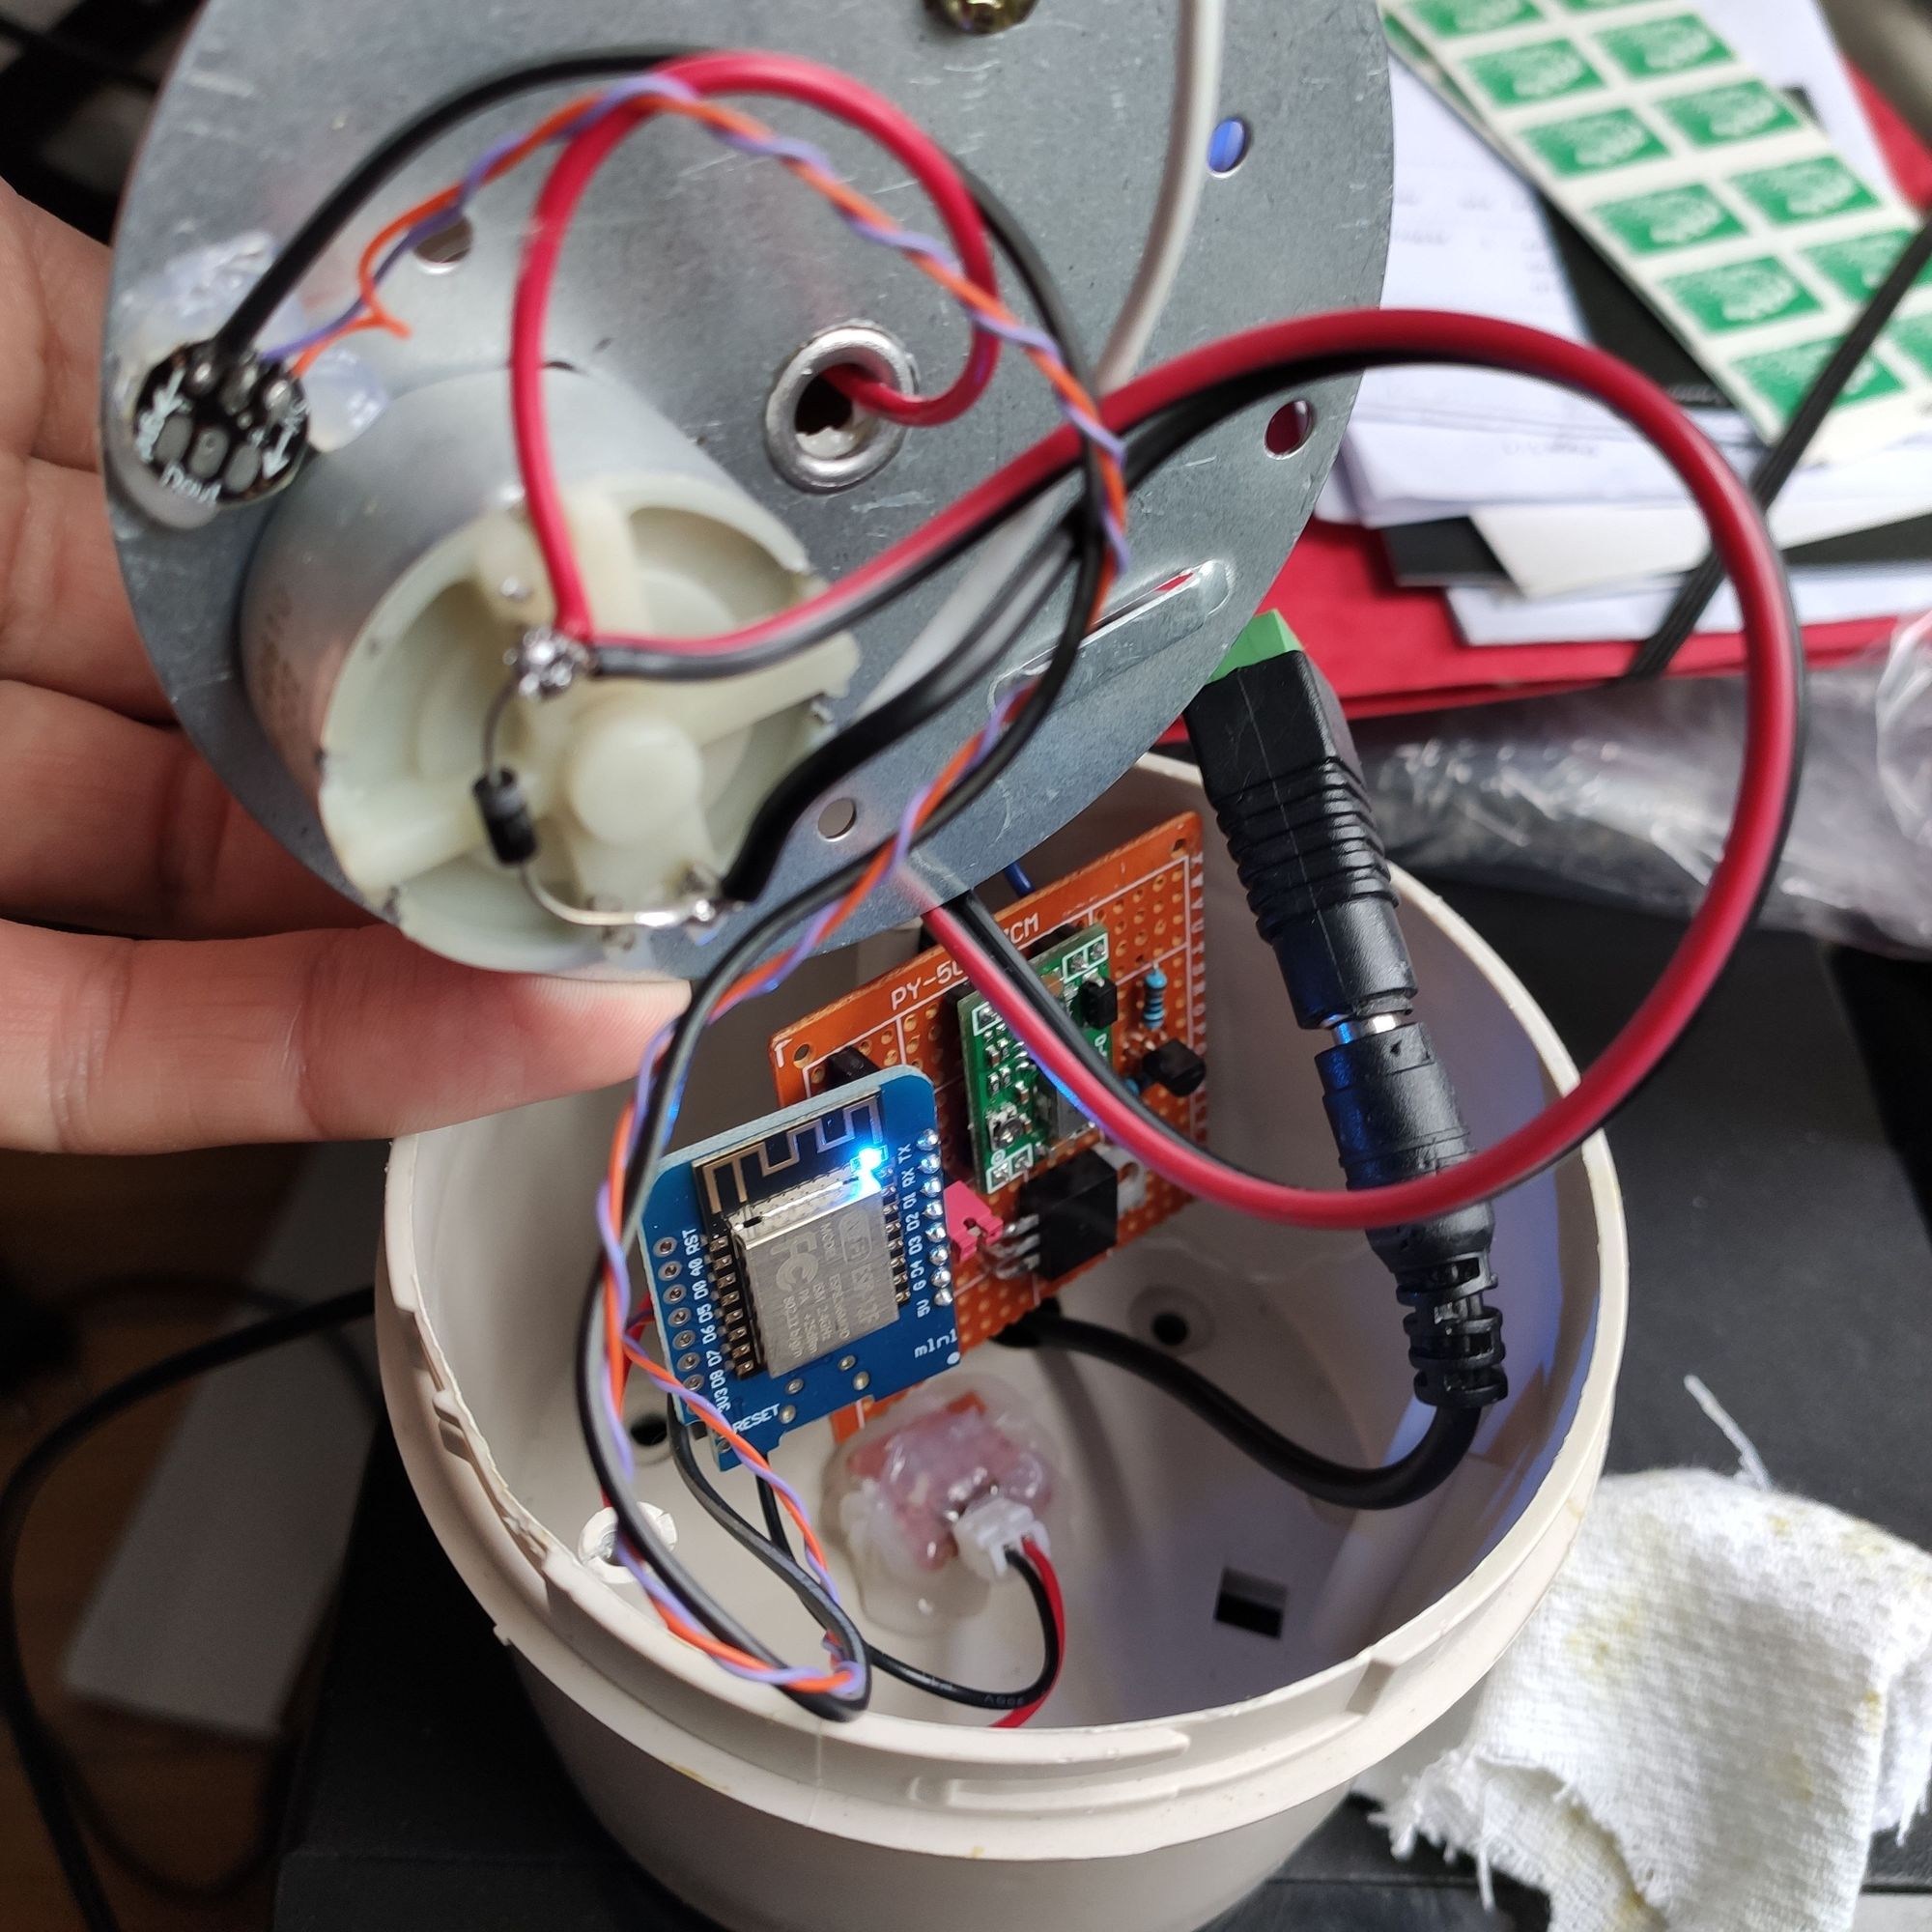
I ended up putting all the electronic into the warning lamp case.
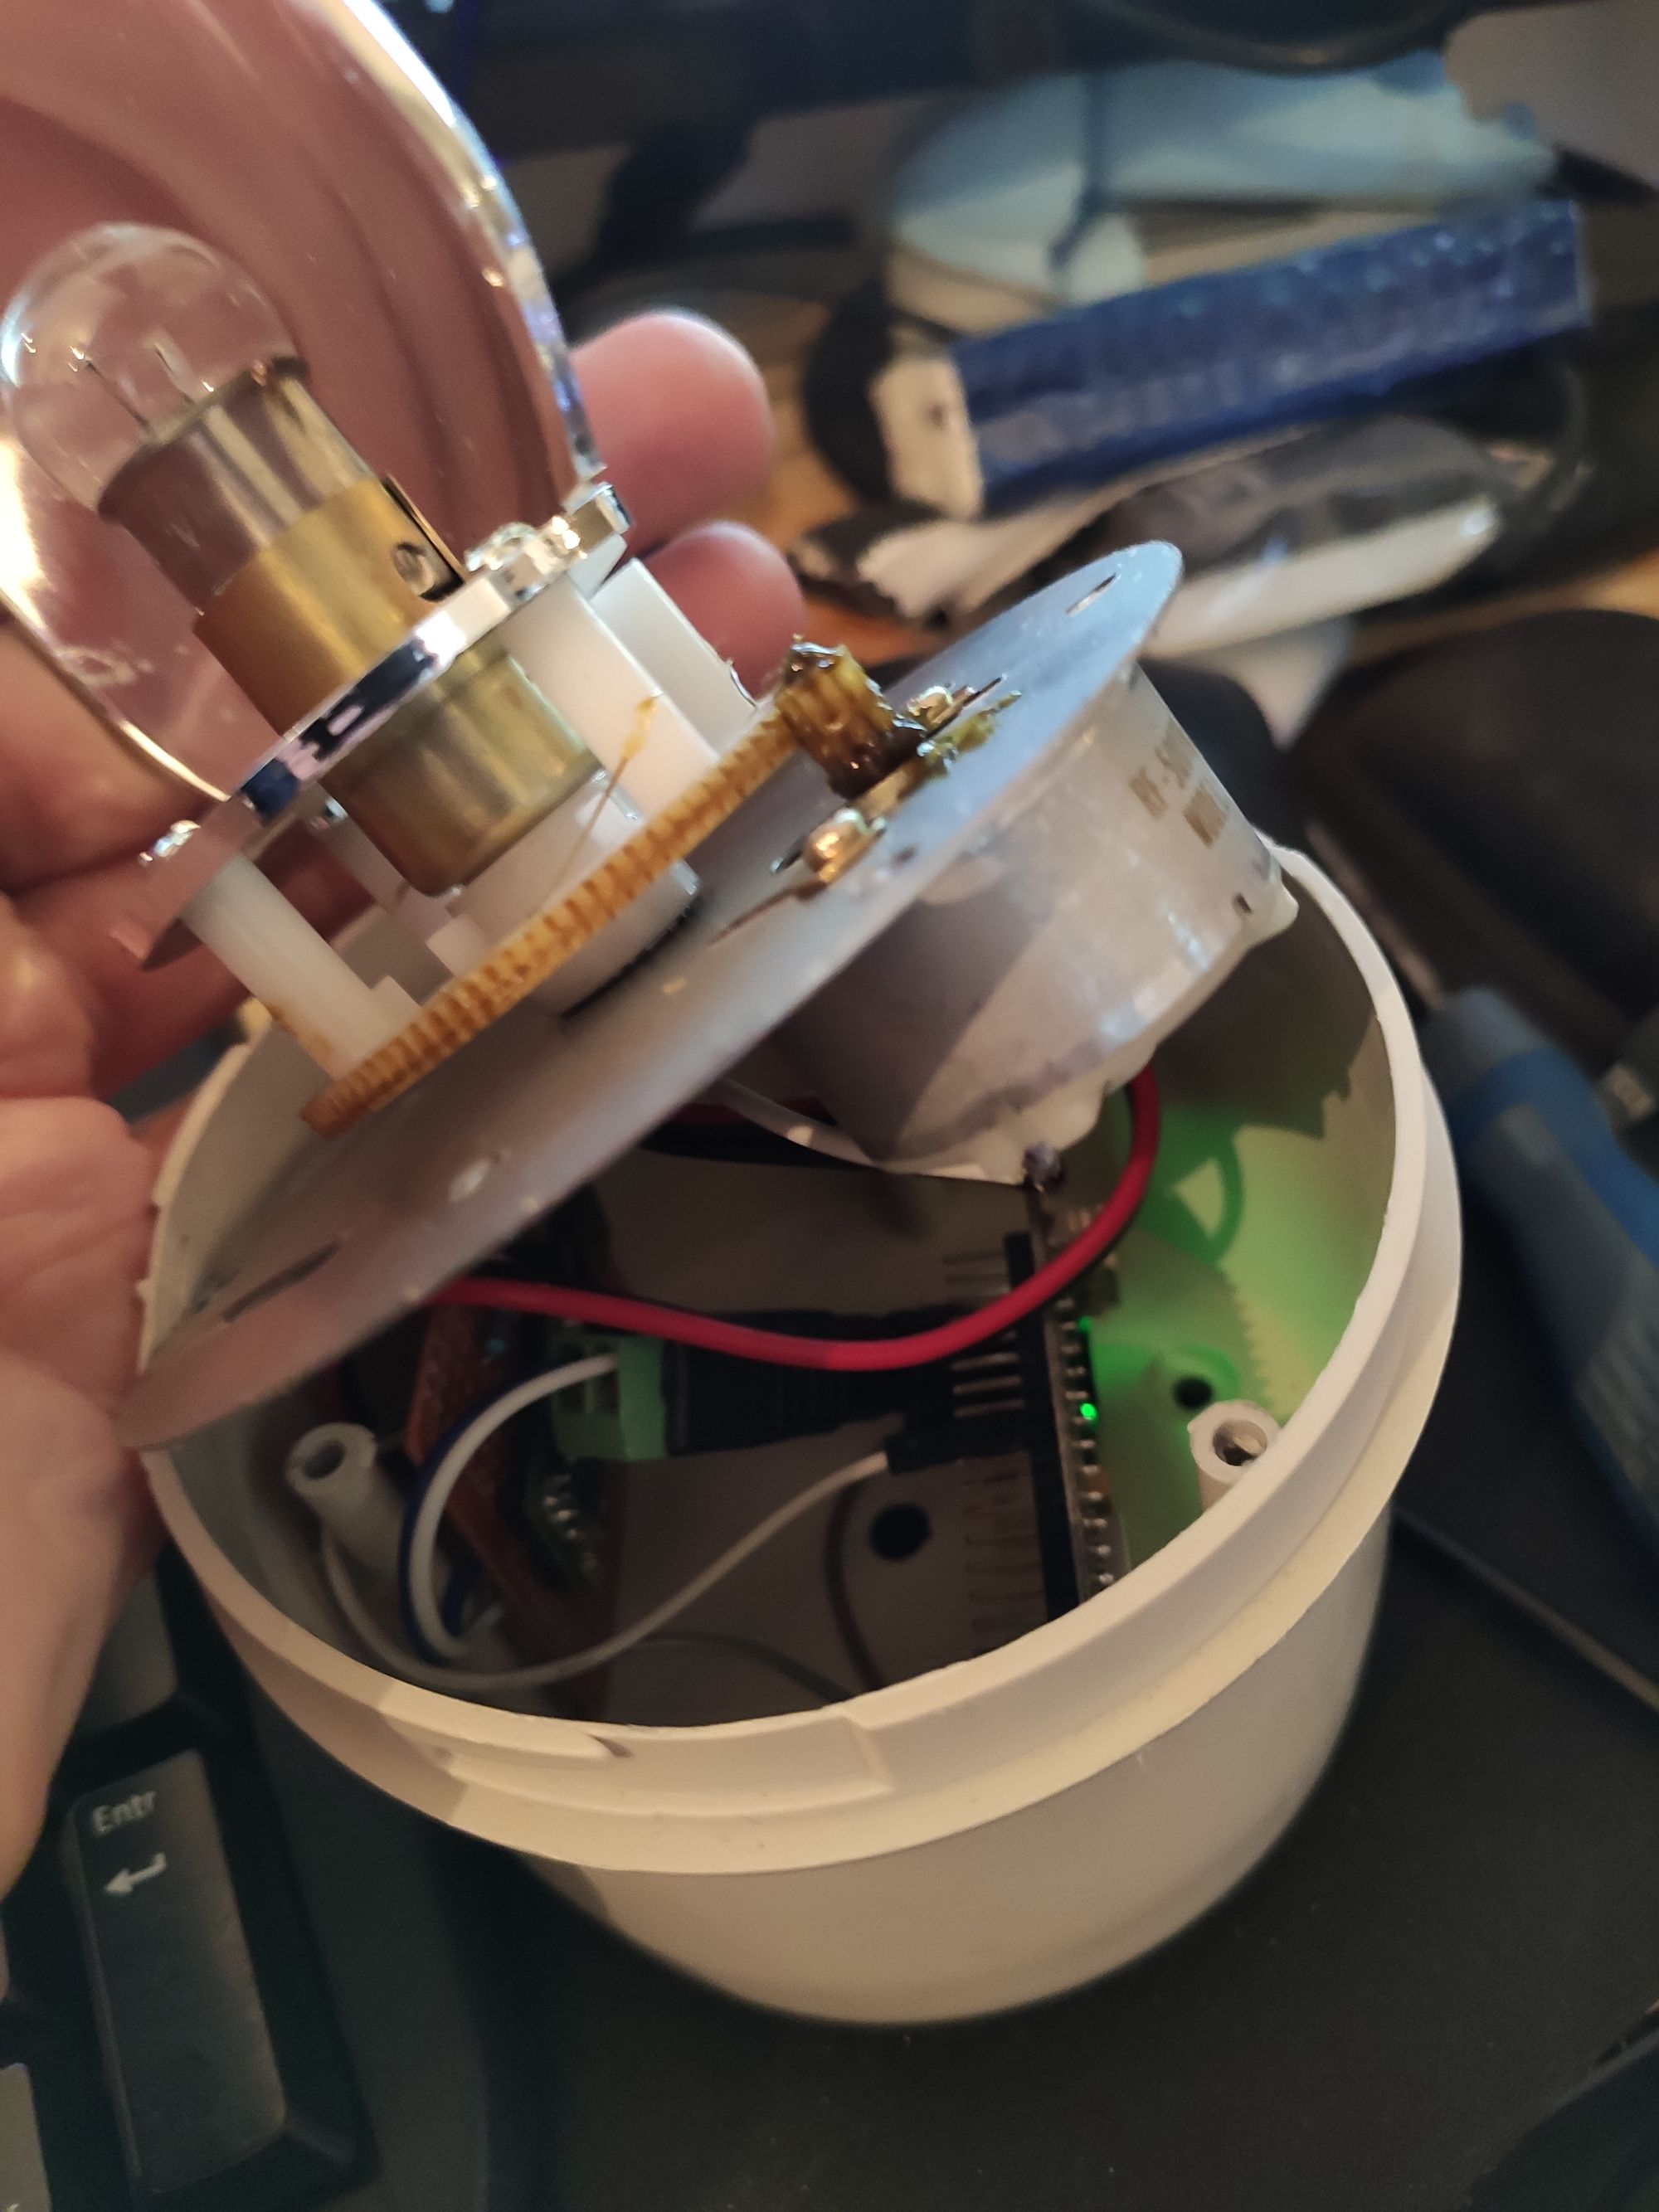
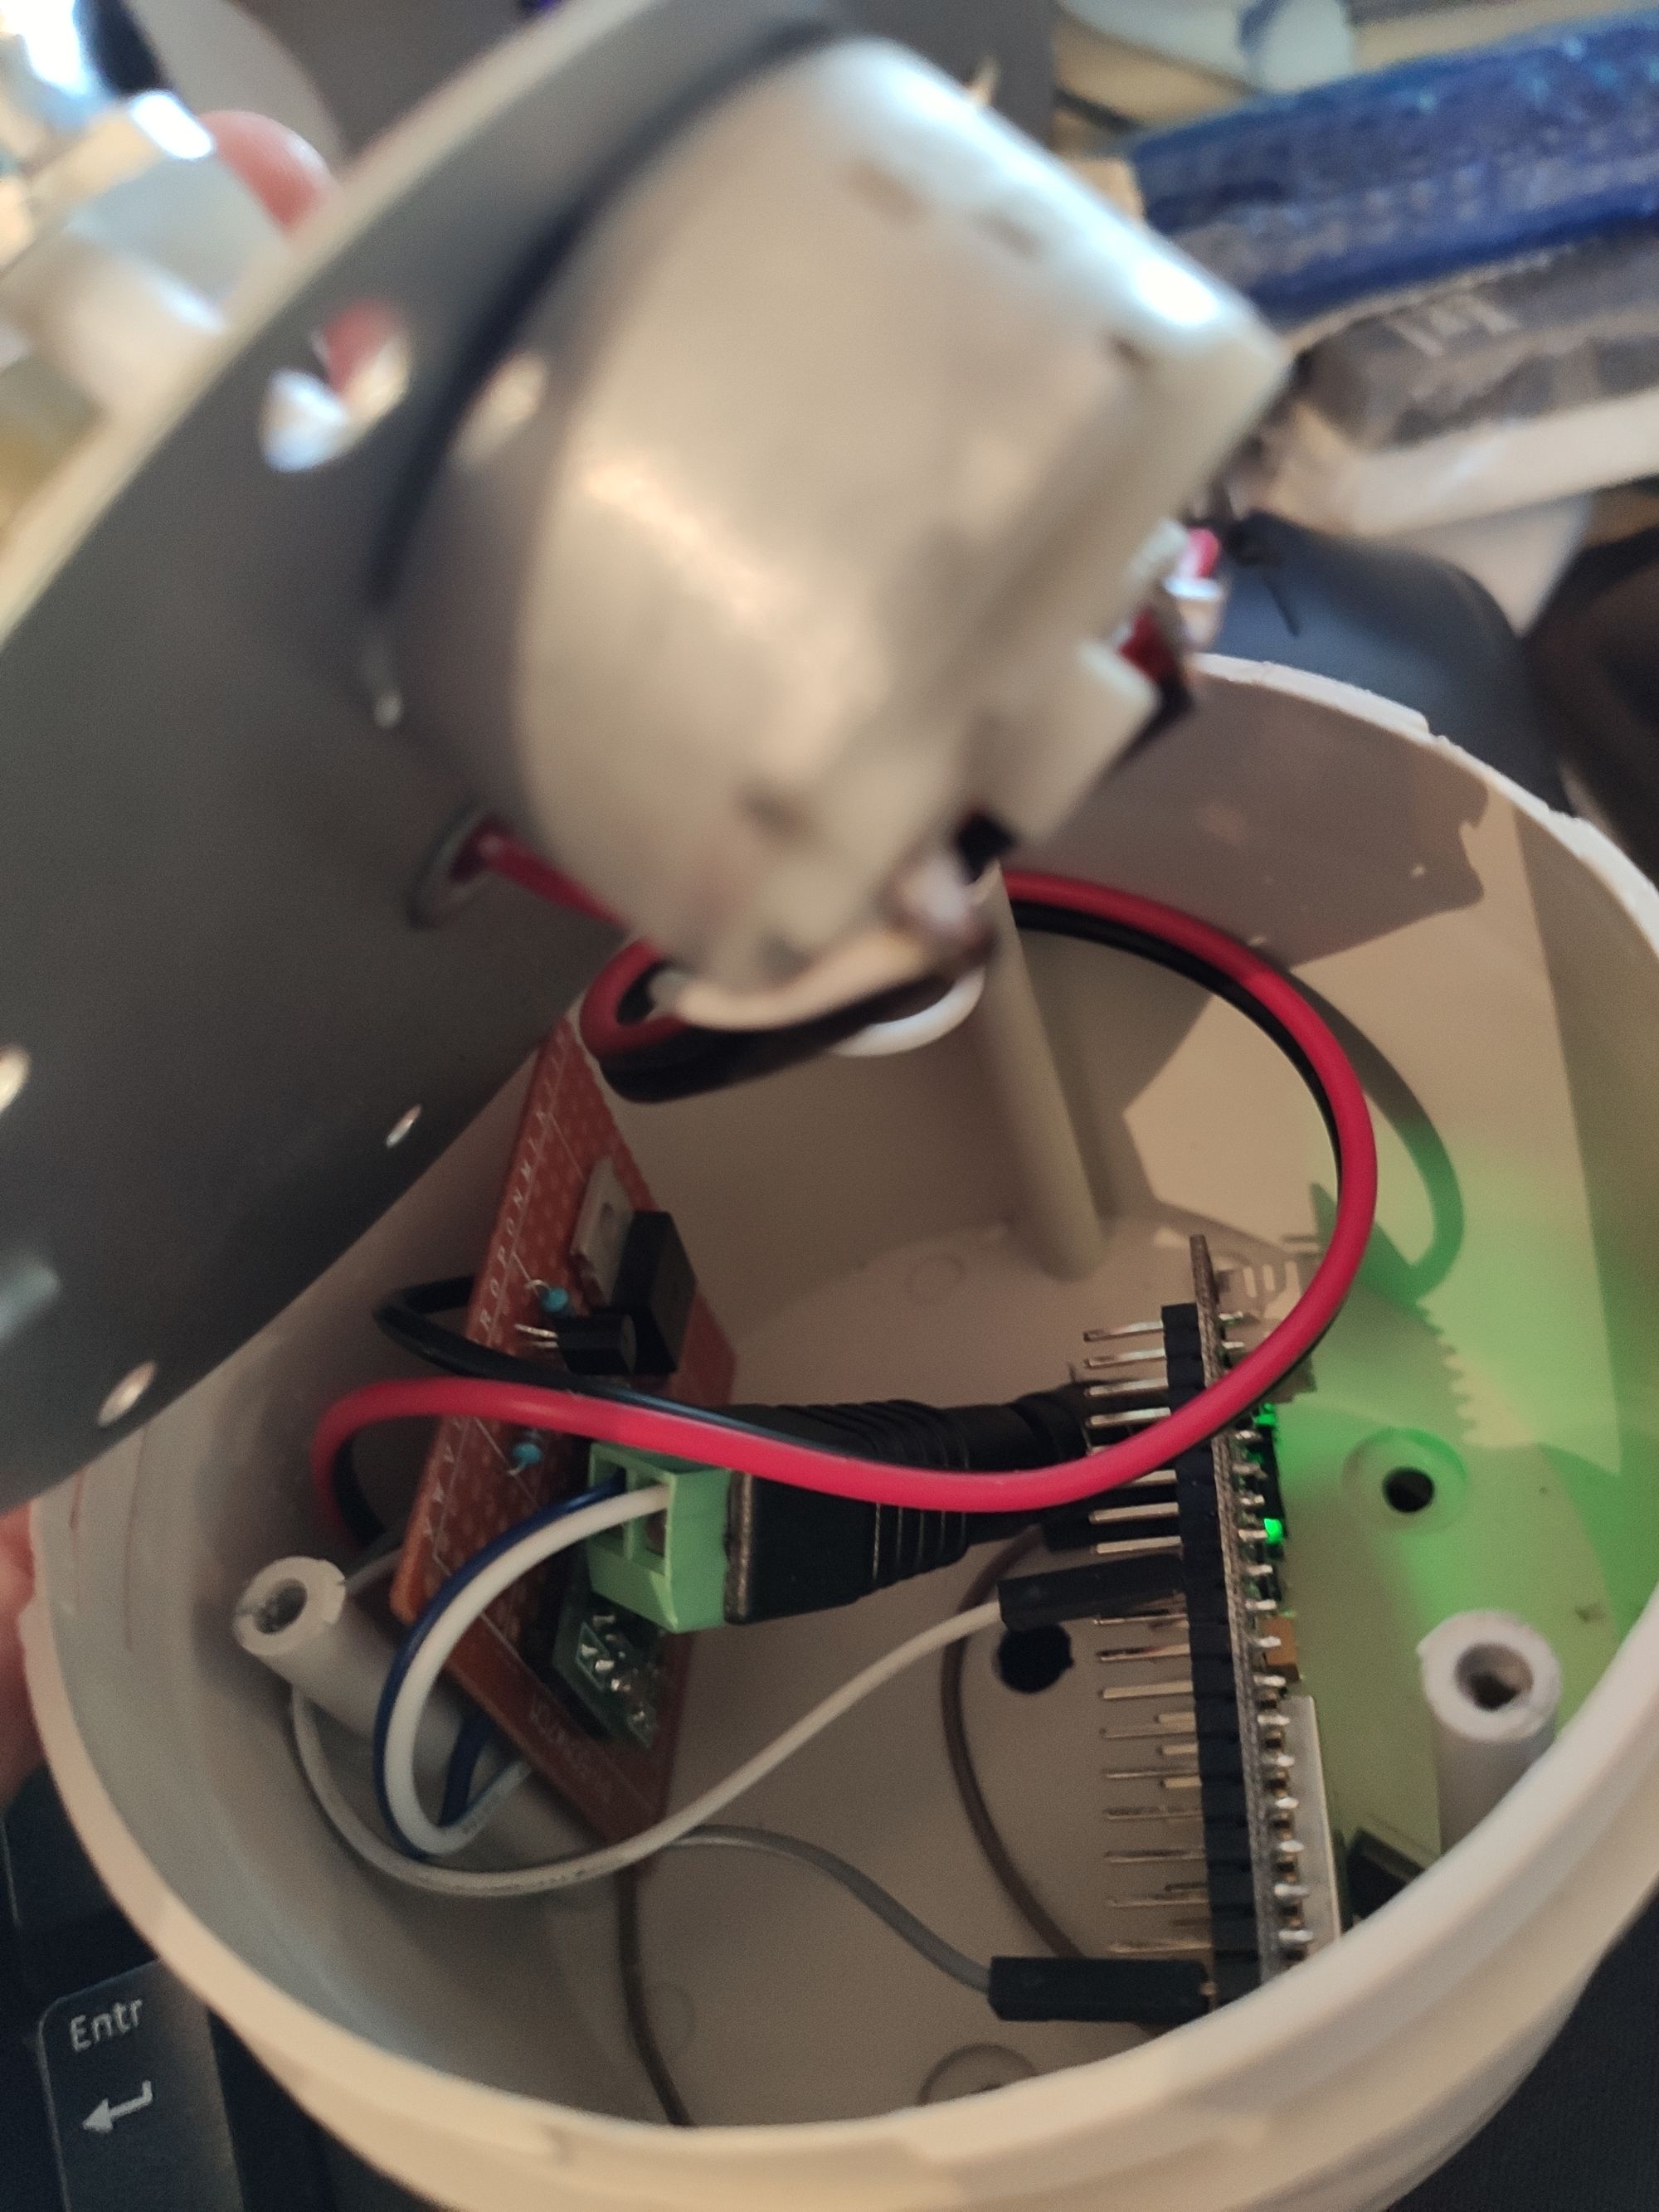
At the end, I also added a neopixel to have a feedback on the state of the device, and I added a little button under the warning lamp to enter the smartconfig mode.
I also changed the code to be able to use an ESP8266 :)
As usual, the source code is available on GitHub.
About Seeed Studio
Seeed is the IoT hardware enabler providing services over 10 years that empower makers to realize their projects and products.
Seeed offers a wide array of hardware platforms and sensor modules ready to be integrated with existing IoT platforms and one-stop PCB fabrication and PCB assembly service.
Seeed Studio provides a wide selection of electronic parts including Arduino, Raspberry Pi and many different development board platforms. Especially the Grove Sytsem help engineers and makers to avoid jumper wires problems.
Seeed Studio has developed more than 280 Grove modules covering a wide range of applications that can fulfill a variety of needs.